

How to Start Streaming With a byKron Overlay: First Steps
Your first stream setup does not need to be complicated. If your byKron overlay is installed, your alerts work, your scenes are organized, and your audio is clean, you already have the essentials. This guide walks through the practical first steps in OBS Studio and Streamlabs Desktop so you can focus on going live instead of rebuilding your setup every time.
Install your overlay first, test alerts second, then verify game capture, scenes, hotkeys, microphone, desktop audio, and output settings. Finish with a short test recording before you press Go Live.
1. Install your byKron overlay before changing anything else
Start by extracting your byKron pack to a permanent folder. Do not import directly from the ZIP, and avoid moving the folder after setup because OBS or Streamlabs can lose the paths to your media files.
For Streamlabs Desktop, byKron packs use the included overlay import workflow. Follow the full byKron Streamlabs installation tutorial. For OBS Studio, import the included Scene Collection and relink any missing media using the byKron OBS installation tutorial.


2. Add your alerts and test them before the stream
Alerts are the popups viewers see for events such as follows, subscriptions, donations, raids, memberships, and other platform actions. In Streamlabs Desktop, compatible byKron packs can use the included One Click Setups to create the widget theme. Make sure the browser and Streamlabs Desktop are logged into the same Streamlabs account.
The exact byKron widget setup is covered in the Streamlabs installation guide. Streamlabs also documents that Alert Box can be added directly as a source, while other broadcast software can use the widget URL as a Browser Source. Always trigger test alerts before going live.
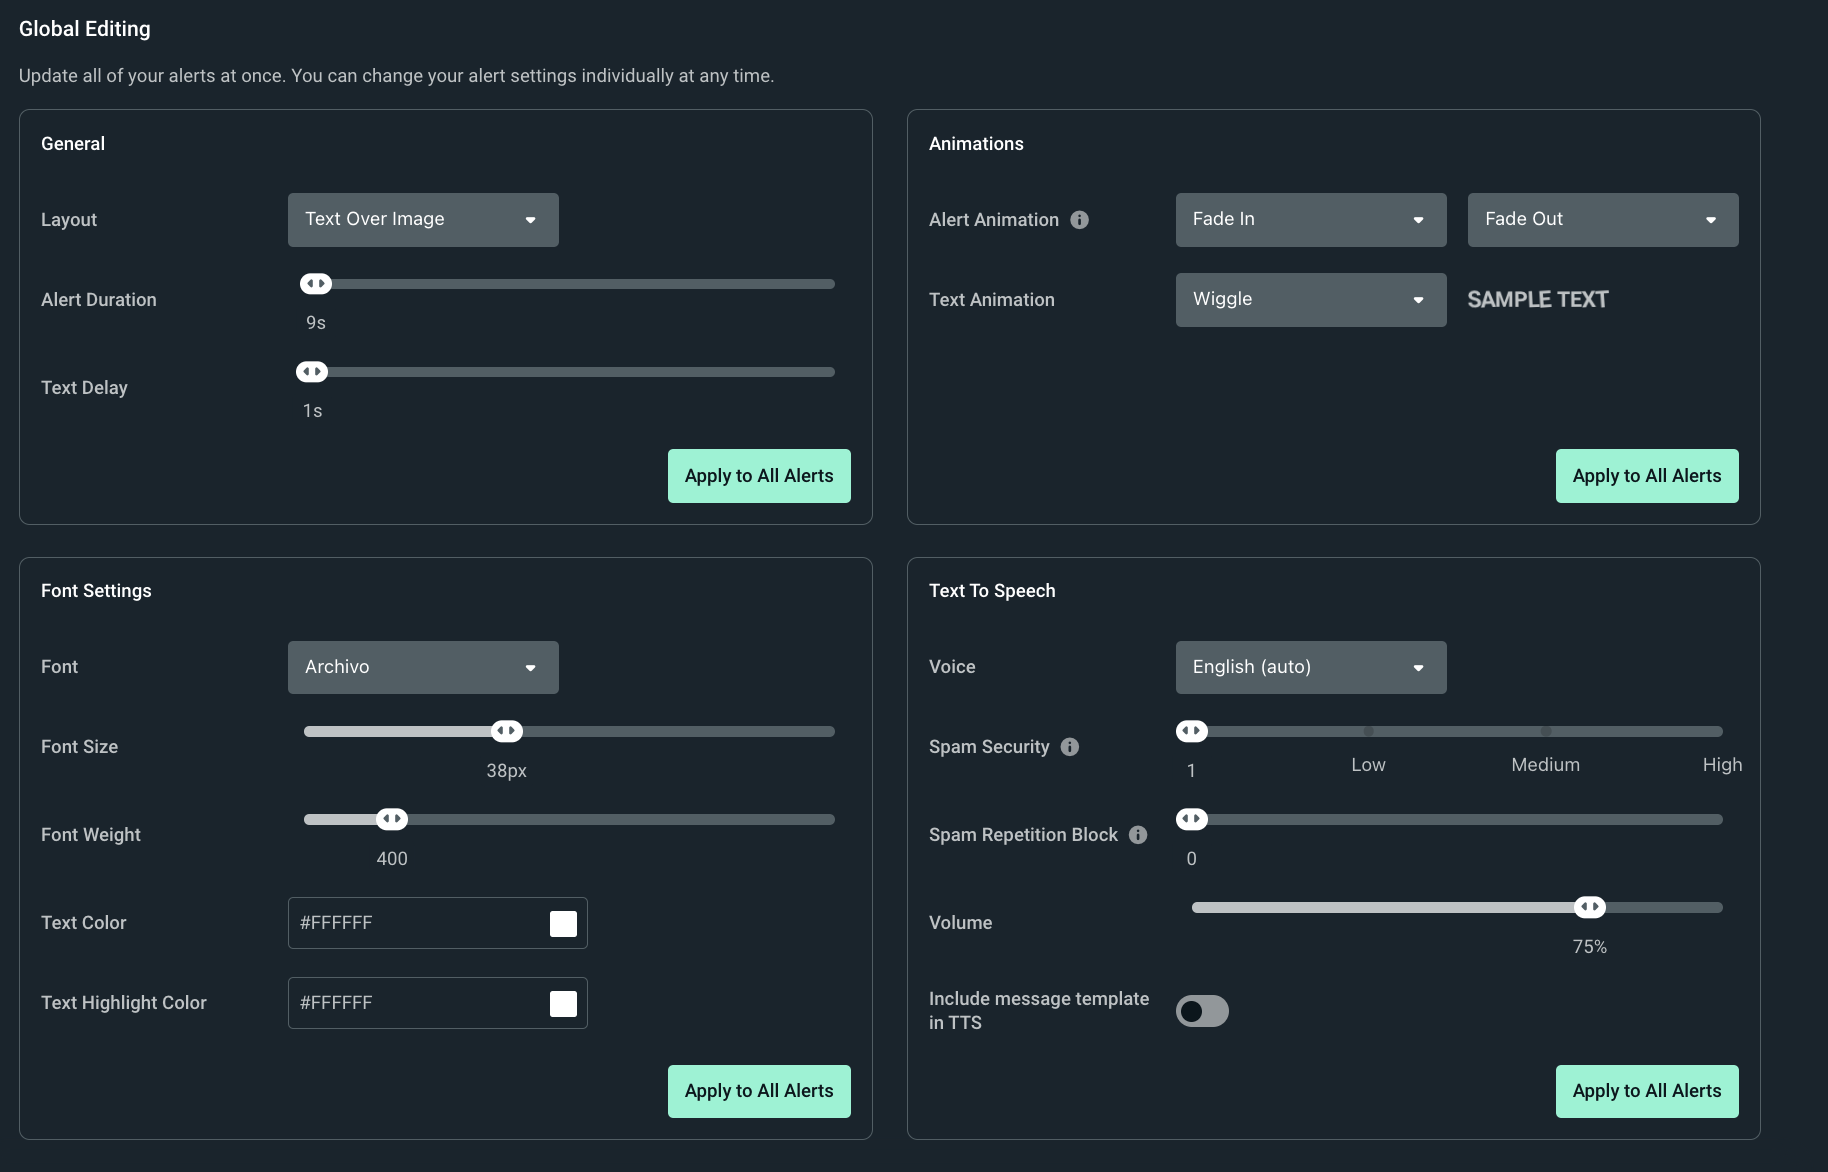
Test at least one alert with sound, confirm it is visible above the game capture, and make sure the volume is not louder than your voice.
3. Configure OBS or Streamlabs for your PC and connection
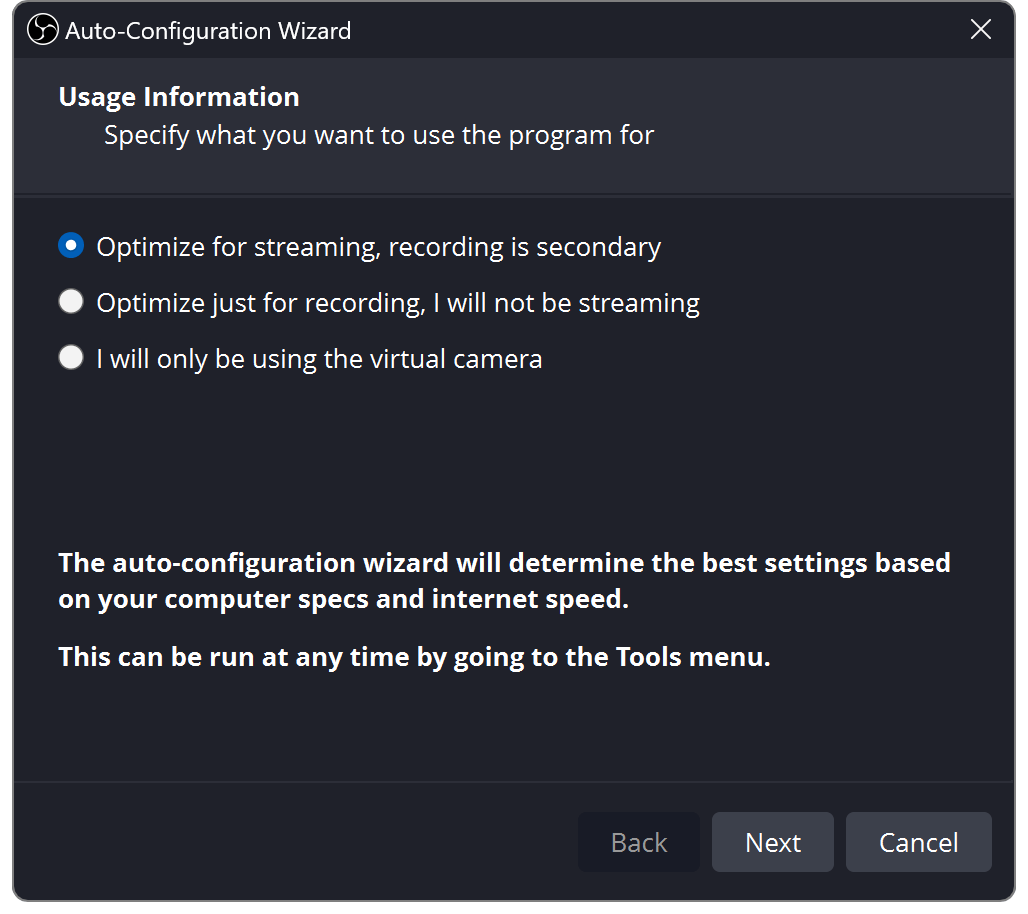
Do not copy a random "best settings" preset. OBS Studio includes an Auto-Configuration Wizard that considers your hardware and network conditions. Streamlabs Desktop also provides setup and output controls for resolution, FPS, bitrate, and encoder. Start with the software recommendation, then test your actual game.
For your scene, add the game or screen capture you need, then add your webcam if you use one. Keep the source order correct so the overlay and webcam stay visible instead of being hidden behind the game source. If you want the official setup references, use the OBS Quick Start Guide or the Streamlabs Desktop Quick Start Guide.
4. Learn your scenes and create hotkeys
A simple scene structure is enough: Starting Soon, Live, Be Right Back, Intermission, and Ending. Your byKron pack may already include these, so you mainly need to learn when to switch between them.
Next, create shortcuts for the actions you use constantly. Useful hotkeys include switching to Live, switching to BRB, muting the microphone, and starting or stopping recording. OBS exposes scene and source hotkeys in Settings, and Streamlabs Desktop has a dedicated Hotkeys menu. Streamlabs recommends multi-key combinations to reduce accidental triggers.

5. Configure your microphone and balance desktop audio
Select the correct microphone in Settings > Audio and speak at your normal streaming volume while watching the mixer. OBS recommends keeping speech in the upper yellow area and avoiding sustained clipping. Streamlabs gives similar guidance: let your microphone peak in the yellow section and keep desktop audio low enough that your voice stays clear.
If your room has fan noise, keyboard noise, or a large volume difference between quiet and loud speech, start with simple filters such as noise suppression, compressor, or limiter. Do not stack filters just because they exist. Add one, monitor the result, and compare it with a clean local recording.
Your voice should remain intelligible over game audio, music, alerts, and Discord. Watch the meters, but always listen back to a recording because equal-looking meters can still sound unbalanced.
6. Run a short pre-live test
Before your first public stream, record two or three minutes locally. OBS explicitly recommends testing before jumping into a first stream. During that test, talk normally, launch your game, trigger an alert, switch scenes, mute and unmute your mic, and check that nothing disappears behind another source.
- Game or screen capture is visible.
- Webcam is framed correctly, if used.
- Mic and desktop audio are both active and balanced.
- Alerts appear and their sound is controlled.
- Starting Soon, Live, BRB, Intermission, and Ending scenes all work.
- Hotkeys do what you expect without conflicts.
- Your stream title, category, platform account, and privacy settings are correct.
FAQ
Should I use OBS Studio or Streamlabs Desktop for my first stream?
Both work with byKron overlays. Streamlabs Desktop gives beginners more built-in account and widget workflows, while OBS Studio offers a clean modular setup and broad control over scenes, sources, audio, and hotkeys.
How do I add byKron alerts to my stream?
For Streamlabs, use the One Click Setups included with compatible byKron packs and activate the widget theme with the same Streamlabs account used in Desktop. In other broadcast software, an alert widget URL can be added as a Browser Source when supported.
What scenes should a beginner streamer create?
A practical starter set is Starting Soon, Live, Be Right Back, Intermission, and Ending. Many byKron overlay packs already include these scene layouts.
What should I test before going live?
Check game capture, webcam placement, microphone and desktop audio meters, alerts, scene changes, hotkeys, stream title and category, then make a short local recording or private test before the public broadcast.
Conclusion
A solid first stream is mostly about reliability. Install the overlay correctly, confirm alerts, organize scenes, set a few useful hotkeys, balance your microphone against desktop audio, and test the complete flow once. After that, improve one thing at a time instead of changing the whole setup before every broadcast.
Stream Room gives you a verified byKron pack with core scenes, alerts, widgets, transition assets, and one-click setup files for the main desktop streaming apps.
View Stream RoomKeep learning
Learn more about how to improve your stream.


